
How to Import a Local Project into the Browser-Based Bolt.new Platform
Seamlessly Import Your Local Project into Bolt.new and Supercharge Your Development Workflow

Bolt.new is a powerful AI-driven coding tool designed to streamline your development workflow. If you already have a local project and want to import it into Bolt.new on a browser, this guide will walk you through the process step-by-step. Best of all, no additional setup is required—Bolt.new works seamlessly with imported projects, so you can start coding right away!
Step 1: Go to StackBlitz
Open your browser and navigate to https://stackblitz.com/
If not signed in already, then log in with your credentials. Use the same credentials you use for Bolt.new.

Step 2: Create a New Project
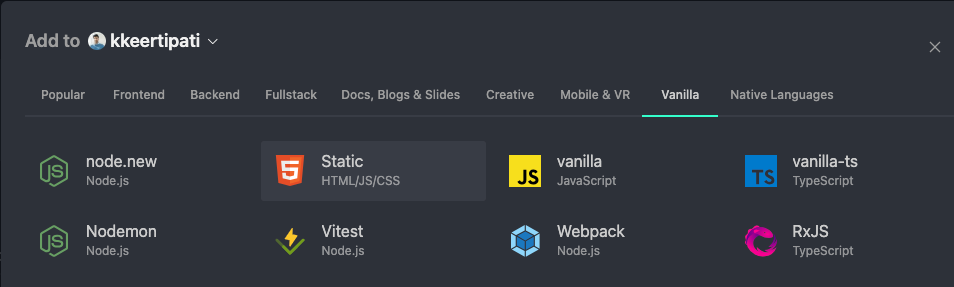
After logging in, click the "New Project" button located in the top-right corner of the header.

Select the Static HTML project or any template.
This option is ideal for shorter initial page load times, making it a great starting point.
Step 3: Clear Default Files in the Terminal
Once the editor loads, find the terminal at the bottom of the StackBlitz interface. If it's not visible, click the "Terminal" or "Console" tab.
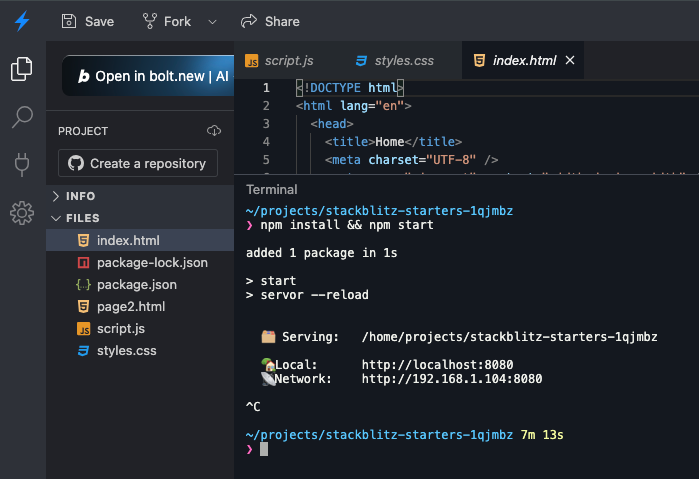
Stop the default running server by typing:
Ctrl + C(On Mac: Use Ctrl + C.)
(On Windows: Use the same shortcut.)
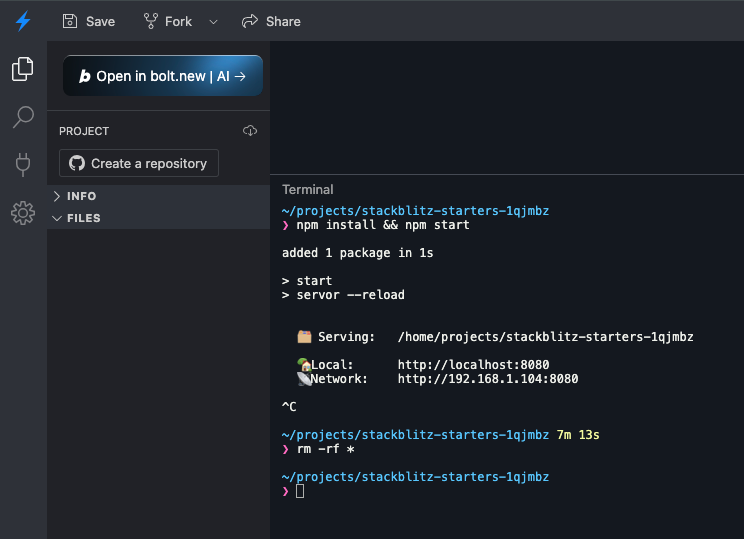
Clear all the default files in the project by running:
rm -rf *Note for Windows Users: If bash commands don’t work, ensure your terminal supports bash, or use Windows PowerShell syntax.
Step 4: Prepare Your Local Project
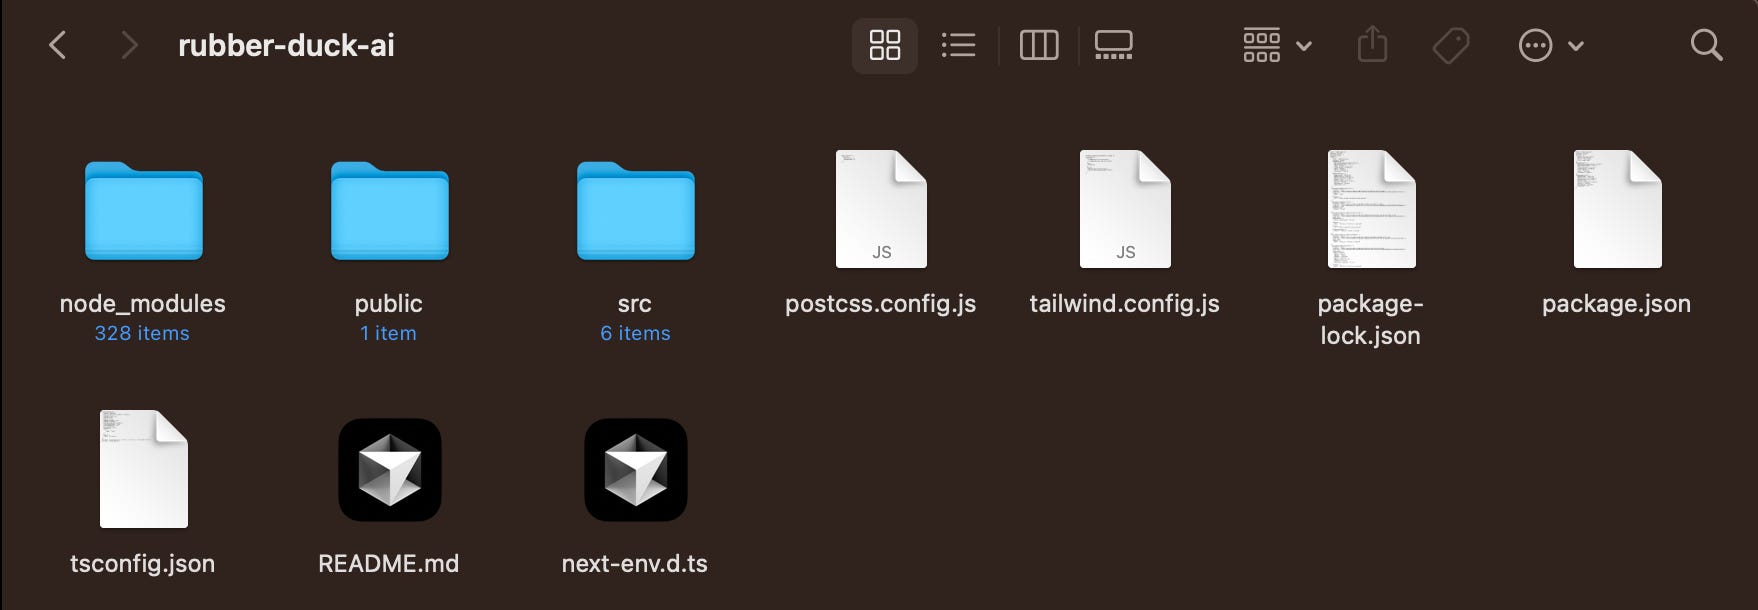
Open the folder on your computer that contains your local project.

Show hidden files (e.g.,
.env,.git, etc.):
On Mac: Press
Cmd + Shift + ..On Windows: Enable "Show hidden files" in your File Explorer settings.
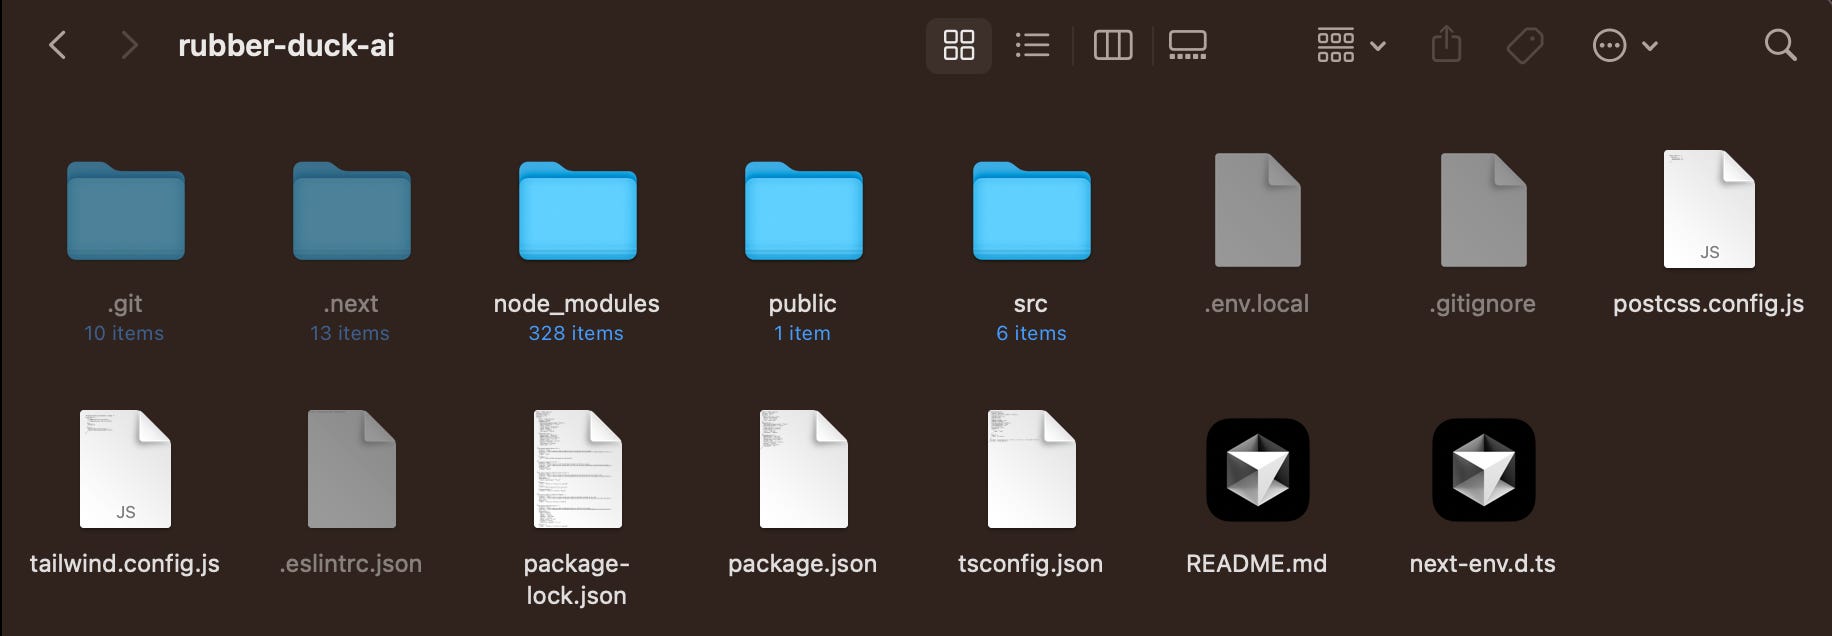
Select all files in your folder:
On Mac: Use
Cmd + A.On Windows: Use
Ctrl + A.
Tip: To speed up the upload process, you can skip uploading the node_modules folder or any dynamically generated package directories, as these will be automatically regenerated during project installation. However, including them is also perfectly fine if you prefer!
Step 5: Upload Files to StackBlitz
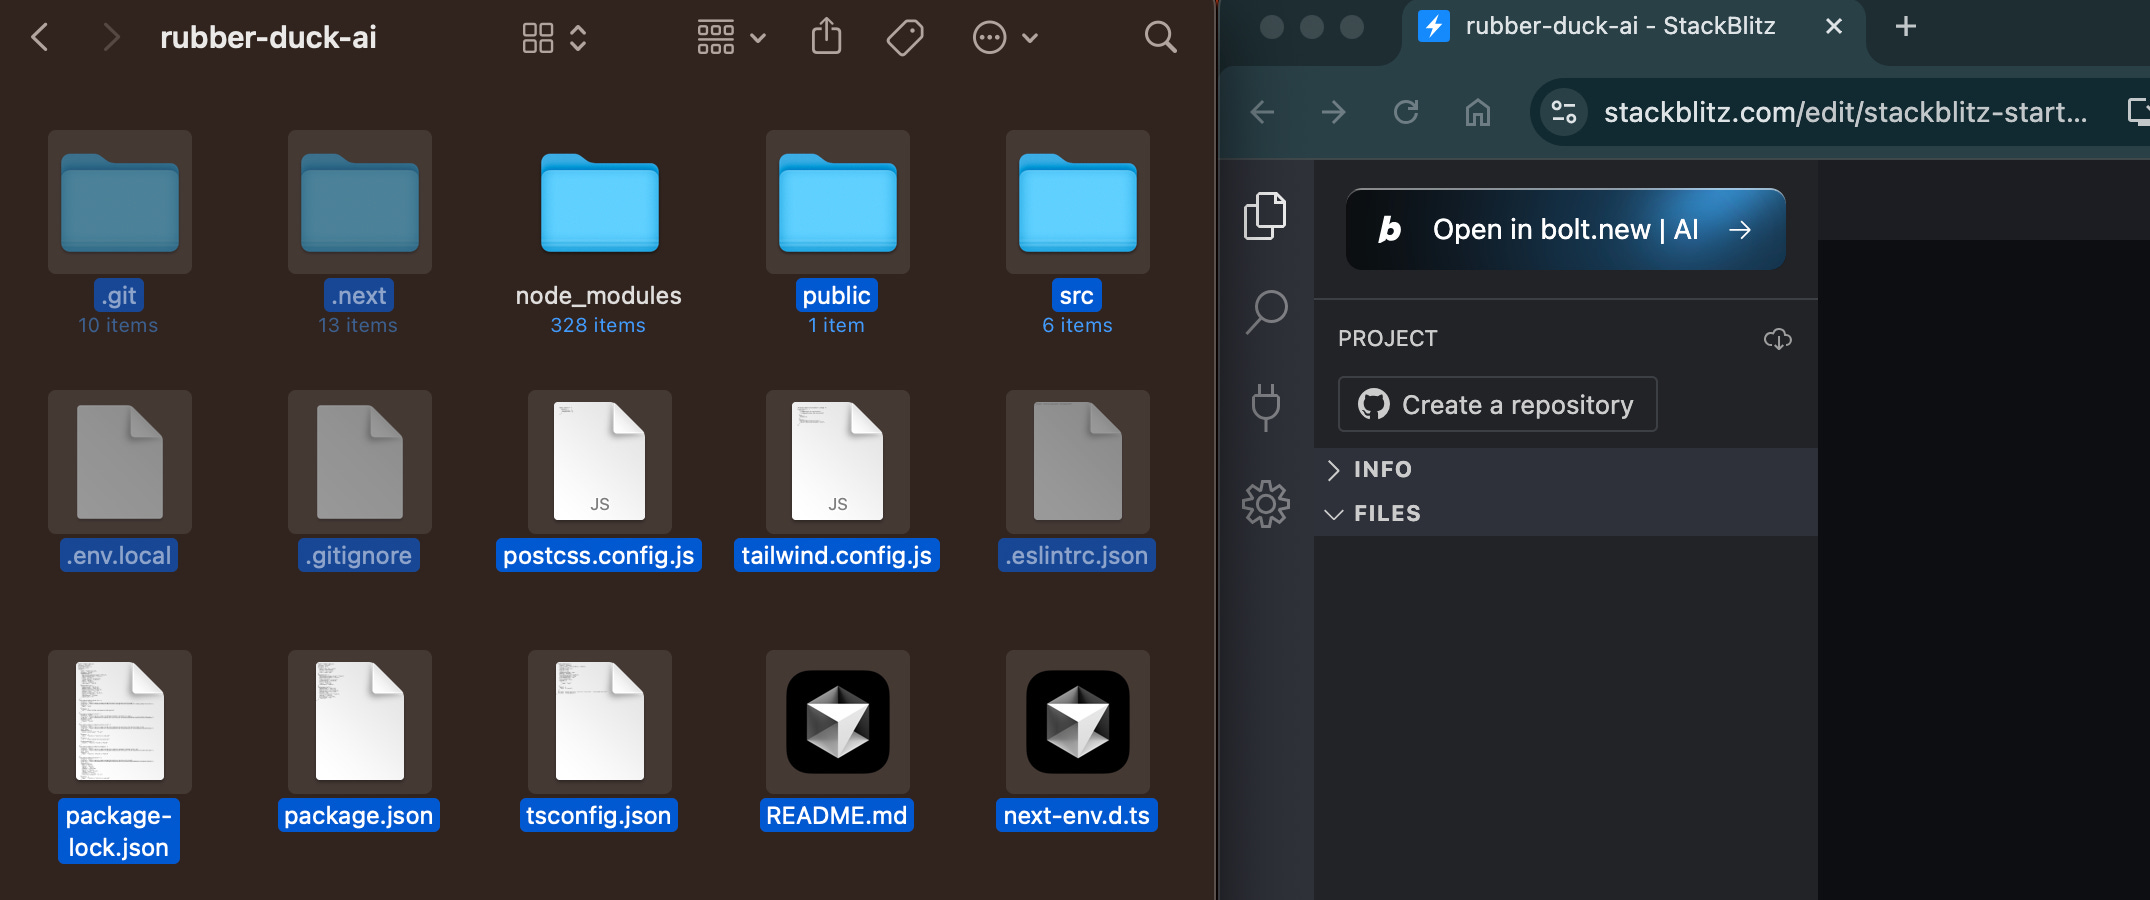
Drag and drop the selected files from your local folder into the file explorer pane in StackBlitz.
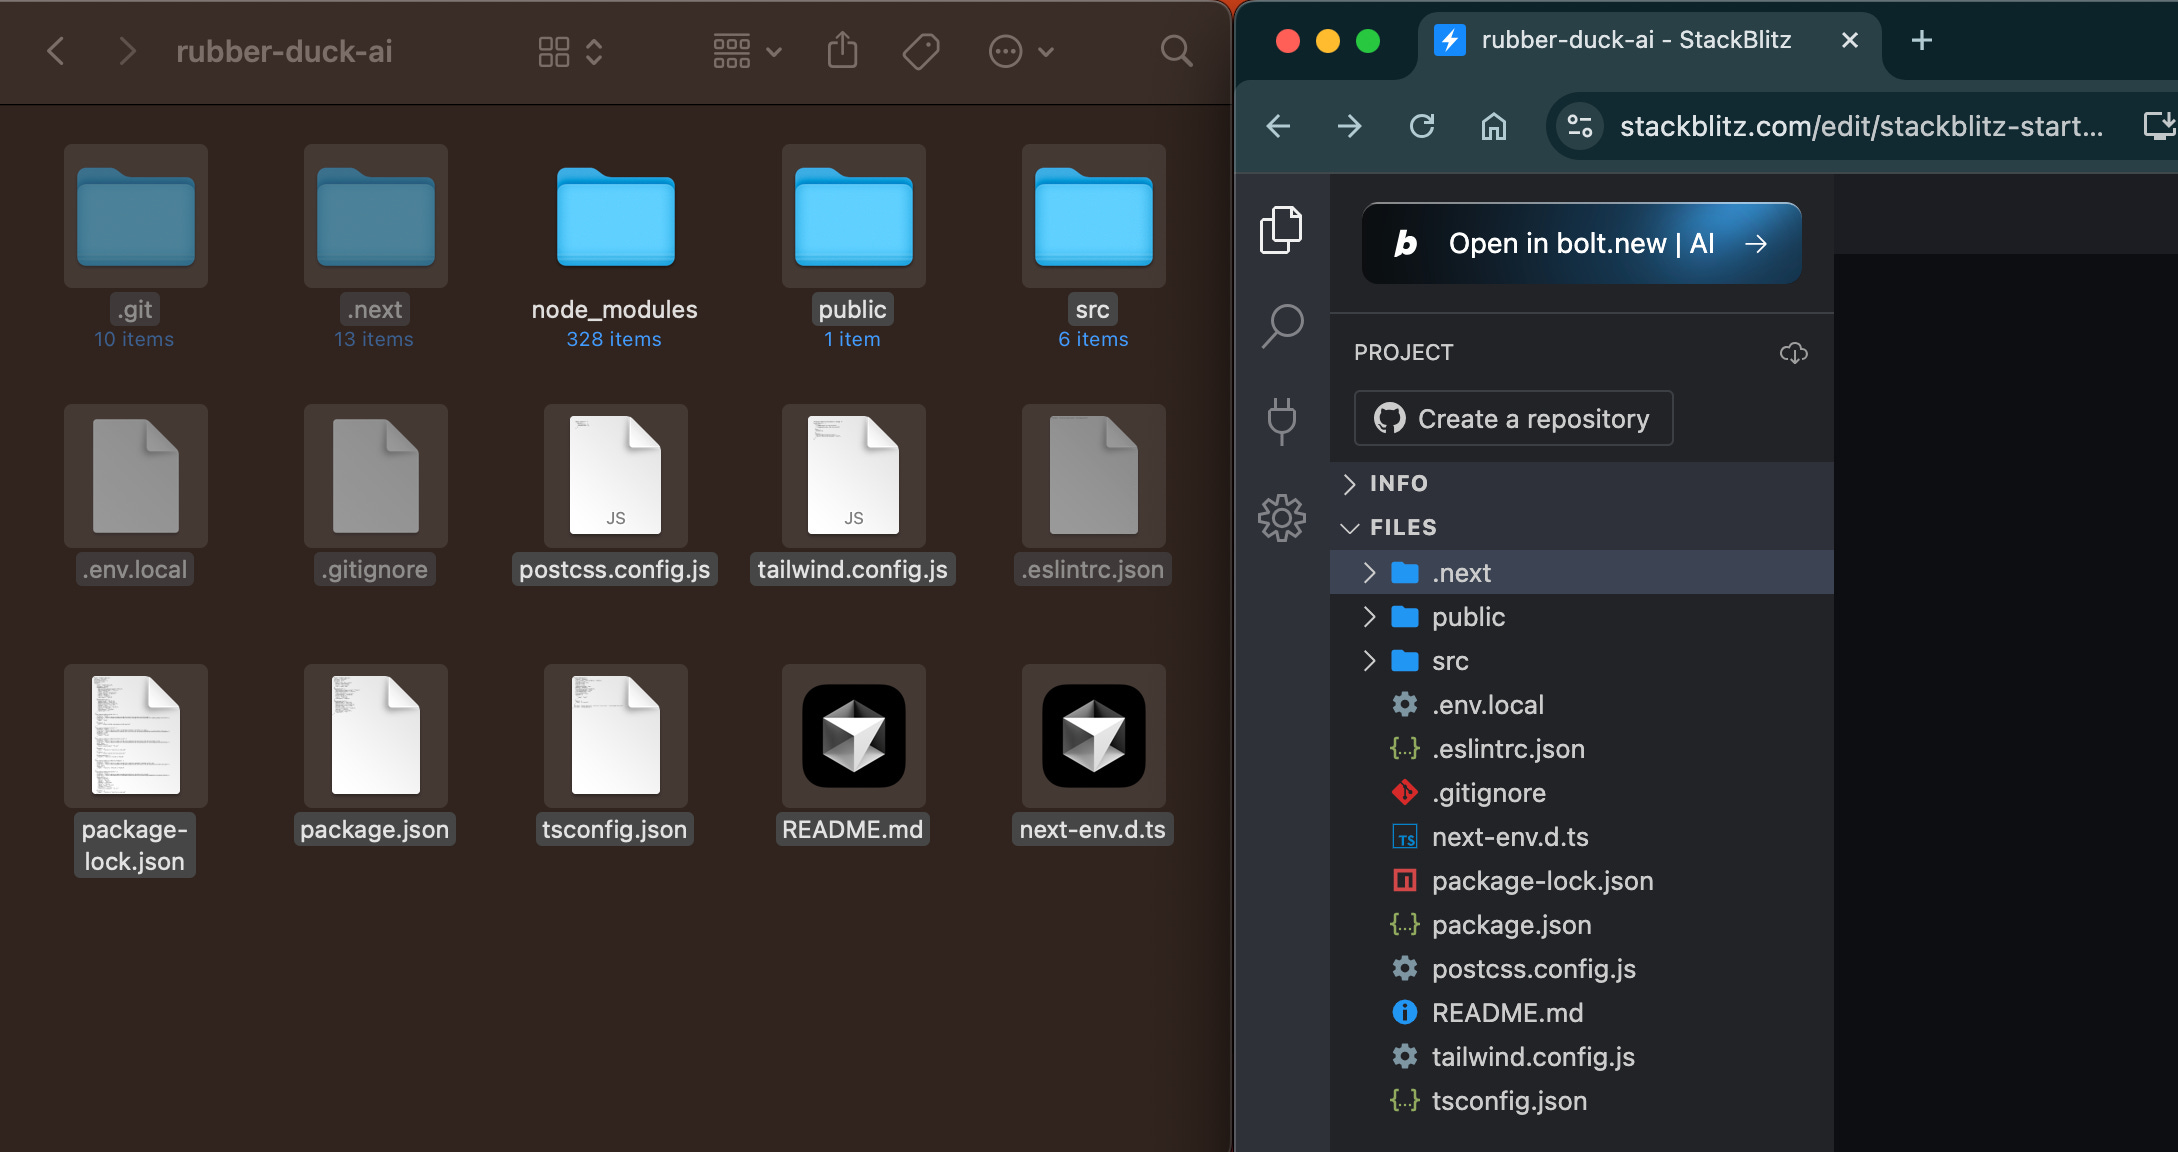
Your project files will now upload to the files in the StackBlitz editor.
Step 6: Rename the Project and Save
Rename the project to your desired name for easier identification and management.
Click the "Save" button in the top-left corner of the StackBlitz interface to save your changes.


Step 7: Open in Bolt.new
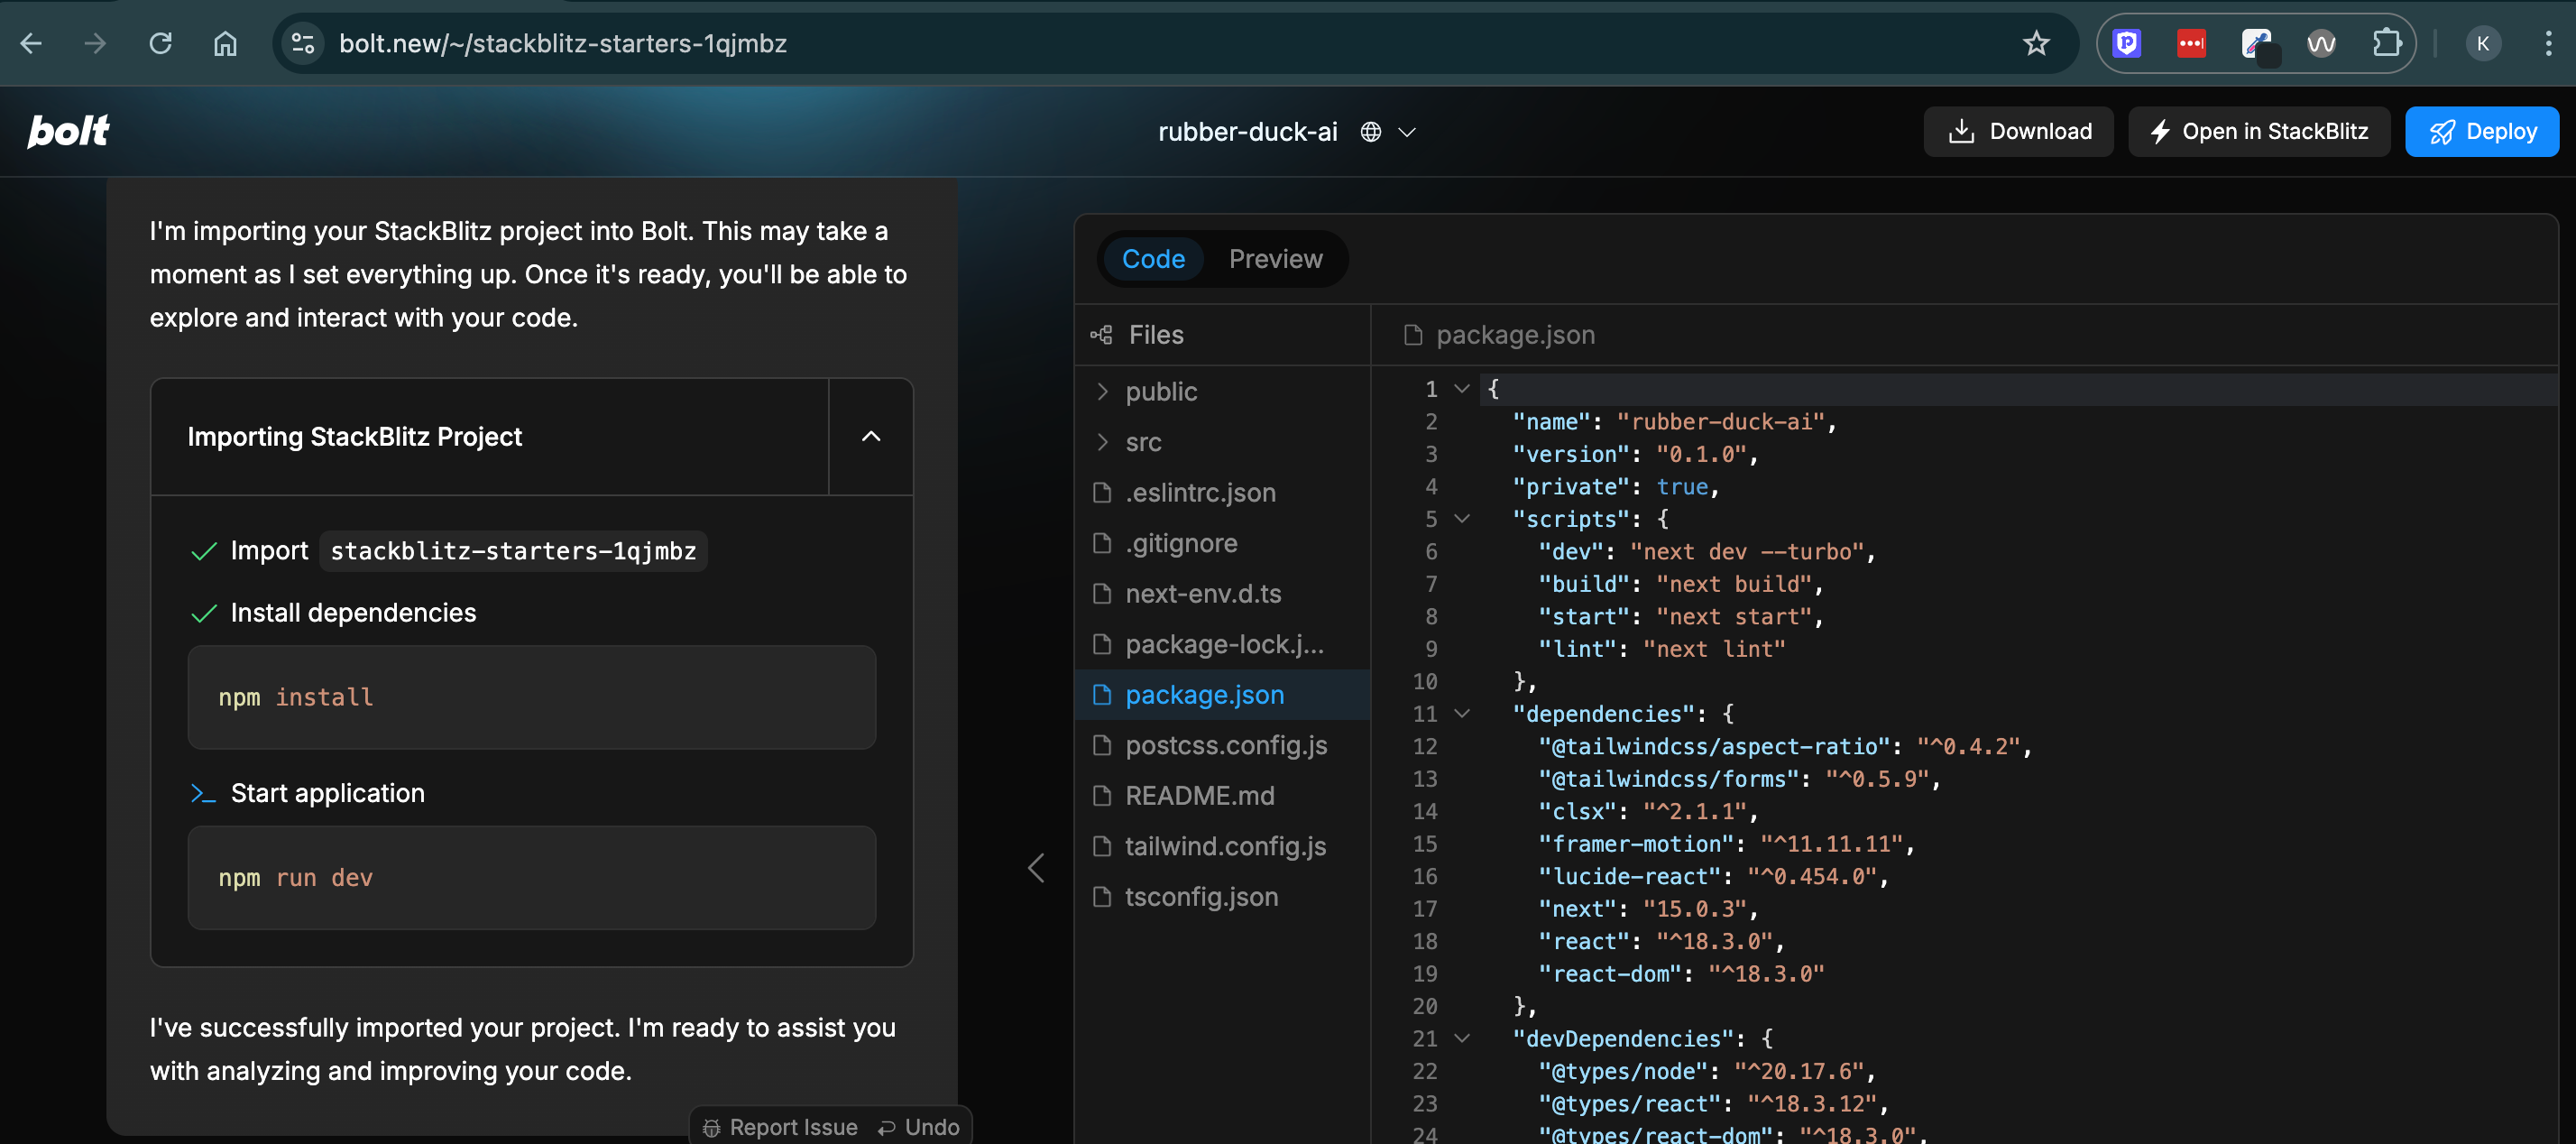
Once your files are uploaded, click the "Open in Bolt.new" button at the top of the StackBlitz interface.
Bolt.new will seamlessly import your project, making it ready for you to continue working without any extra setup.
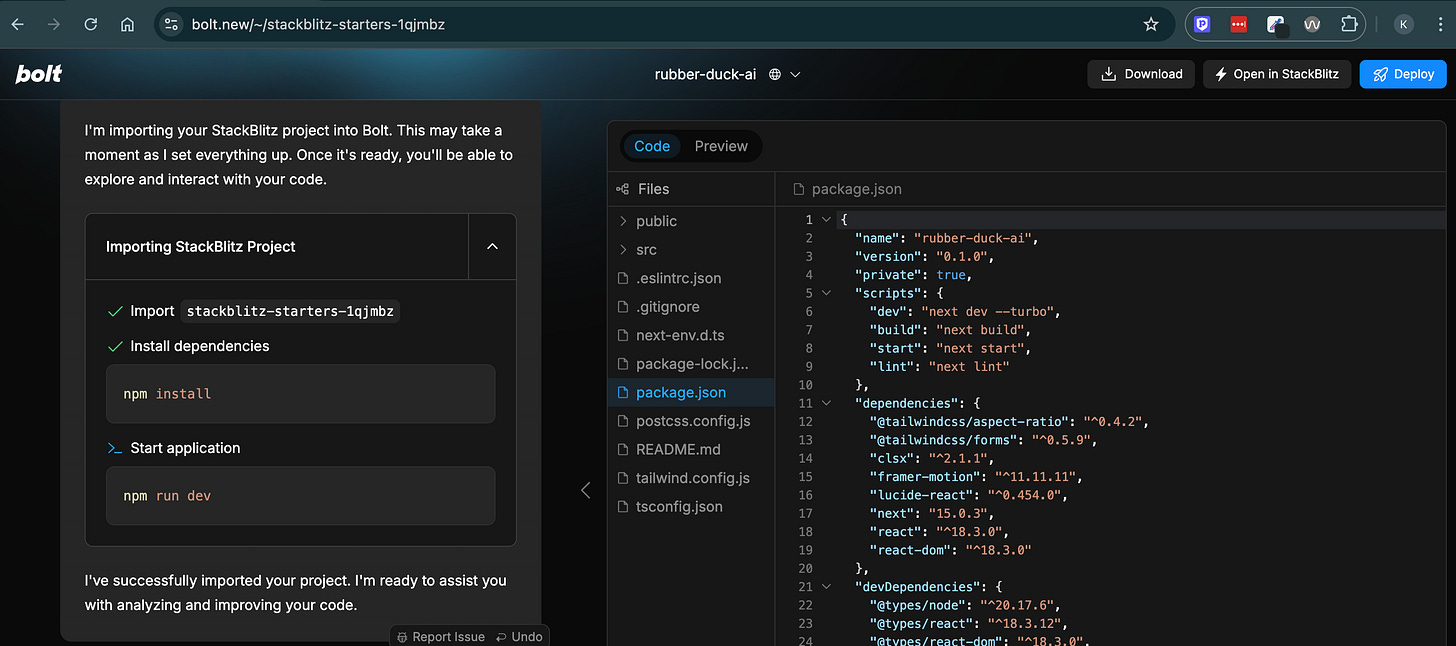
Success!
That’s it—your project is now fully imported into Bolt.new. You can start working on your development tasks immediately, and Bolt.new’s AI tools will assist you with:
Generating code snippets.
Debugging issues.
Suggesting design or functionality improvements.
No additional setup steps are needed—simply continue with your development, and let Bolt.new enhance your workflow.
Frequently Asked Questions (FAQs)
1. Why select Static HTML as the starter template?
Static HTML provides shorter initial page load times, making it an ideal choice for initializing a StackBlitz environment quickly.
2. Do I need to create a prompt file or a .bolt folder?
No! Bolt.new works seamlessly with imported projects. You don’t need to create any additional files or folders—just upload your project and start coding.
3. Can I include my node_modules folder?
Yes, but it’s not necessary. The node_modules folder is dynamically regenerated during project installation, so excluding it will speed up the upload process.
Final Thoughts
Bolt.new and StackBlitz together make it incredibly easy to import and enhance local projects. Whether you’re working on a modern web application or something simpler, this workflow can save hours of setup time.
If you found this guide helpful, don’t forget to subscribe for more tutorials and insights on AI-enhanced coding tools. I’m always happy to help with any questions, so feel free to leave a comment below!